You have 500 new SKUs arriving Monday. Your shelves are bare, your warehouse team is waiting, and every minute without a scannable label is a minute of manual keying, mis-picks, and frustration. Sound familiar?
Printing barcode labels one at a time is painful. Printing them in bulk from a spreadsheet is surprisingly straightforward, once you know the workflow. This guide walks you through the full process: preparing your data, choosing a symbology, designing the layout, and hitting print. No expensive software required.
When you need bulk labels (and why it always feels urgent)
Bulk label printing is not a rare event. It comes up more often than most teams plan for:
- New warehouse or store setup - every bin, shelf, and product needs a scannable identity from day one.
- Seasonal inventory surges - holiday stock, back-to-school products, or promotional items all arrive in waves that need labels fast.
- Relabeling after a move or reorganization - new locations, new bin numbers, same urgency.
- Damaged or faded labels - direct thermal labels exposed to heat or sunlight degrade and need replacing in batches.
- New product lines - onboarding 50 or 500 new SKUs means 50 or 500 labels, not one at a time.
The common thread: bulk label printing is almost always time-sensitive. Having a repeatable workflow saves real hours when the pressure is on.
Choose the right barcode symbology
Before you open any tool, decide which barcode type fits your use case. The wrong symbology means labels your scanners cannot read or labels that carry less data than you need.
The workhorse for internal operations. Encodes the full ASCII character set (letters, numbers, symbols) in a compact 1D barcode. Best for warehouse bins, asset tags, shipping labels, and any internal SKU system where you control the format.
The global retail standard. Required for products sold through retail channels. Encodes only numeric data (13 or 12 digits) and needs a GS1 company prefix. If you are printing labels for in-house use only, you probably do not need this.
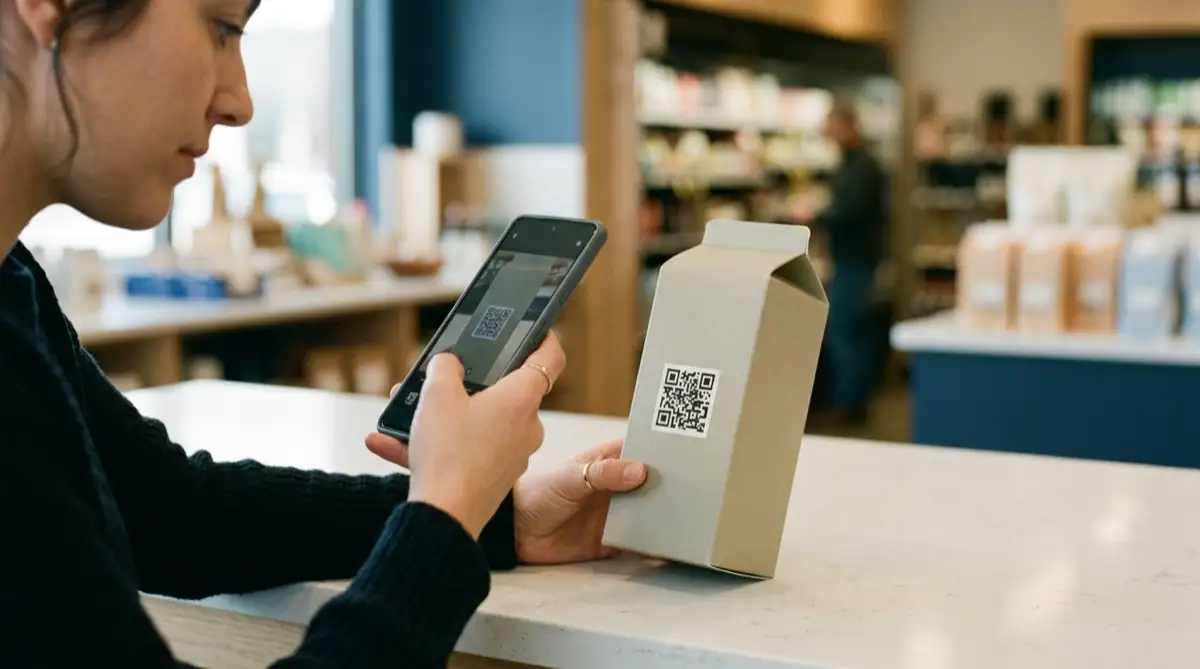
Best when you need to pack more data into a small space: URLs, serial numbers, batch and expiry info, or anything a smartphone should scan. Holds up to 4,000 characters and reads from any angle.
A simple rule: use Code 128 for internal logistics, EAN-13 for retail products, and QR for consumer-facing or data-rich labels. If your operation is preparing for the GS1 Sunrise 2027 transition, you may also want to consider QR codes with GS1 Digital Link for future-proof dual-marking.
, EAN-13 (center), and QR (right). Each symbology suits a different use case.")
Step 1: Prepare your spreadsheet
Every bulk label job starts with clean data. A spreadsheet is the fastest way to organize what goes on each label.
Spreadsheet prep checklist
- One row per label.Each row becomes one printed label. If you need 3 copies of the same label, either duplicate the row or use a quantity column if your tool supports it.
- Column headers in the first row.Use clear names: SKU, Product Name, Barcode, Price, Location. These headers become your label fields.
- Format barcode columns as text.This is the most common spreadsheet mistake. If Excel treats your barcode as a number, leading zeros disappear and long codes get rounded. Set the column format to Text before entering data.
- No empty rows.Blank rows in the middle of your data can confuse import tools and produce blank labels.
- Save as XLSX or CSV.Both formats are widely supported by label tools.
If your data lives in an ERP or inventory system, export it to CSV first. Most systems have an export function that gives you exactly the columns you need.
Step 2: Import into a label tool and design the layout
With clean data in hand, the next step is importing it into a label design tool that can generate barcodes and map your spreadsheet columns to label fields.
Label Codes is a free, browser-based option that handles this workflow end to end. You upload your Excel or CSV file, and the tool maps your columns automatically. From there, you drag and drop elements onto the label canvas: a barcode linked to your SKU column, a text field for the product name, another for the price or bin location, and your company logo if you want a branded look.

Key layout decisions to make at this stage:
- Label dimensions - match the physical label stock you will print on (common sizes: 50x25mm for small product labels, 100x50mm for shelf labels, 100x150mm for shipping labels).
- Barcode size - bigger is better for scan reliability. A Code 128 barcode should be at least 25mm wide. A QR code needs at least 15x15mm.
- Quiet zones - the blank margins around the barcode that tell the scanner where the code starts and ends. Leave at least 5mm of clear space on each side. Our barcode labeling best practices guide covers this in depth.
- Human-readable text - always include the barcode number printed below or beside the code. When a label is damaged, this is your fallback for manual entry.
Step 3: Preview, test, and print
Before printing 500 labels, print 5. This single habit prevents the most expensive labeling mistakes.
Pre-print verification
- Preview every variation.Scroll through the label preview to catch truncated text, oversized barcodes, or misaligned elements. A product name that is 40 characters long will behave differently from one that is 8.
- Print a test sheet.Print 3 to 5 labels on your actual label stock (not plain paper, the dimensions differ).
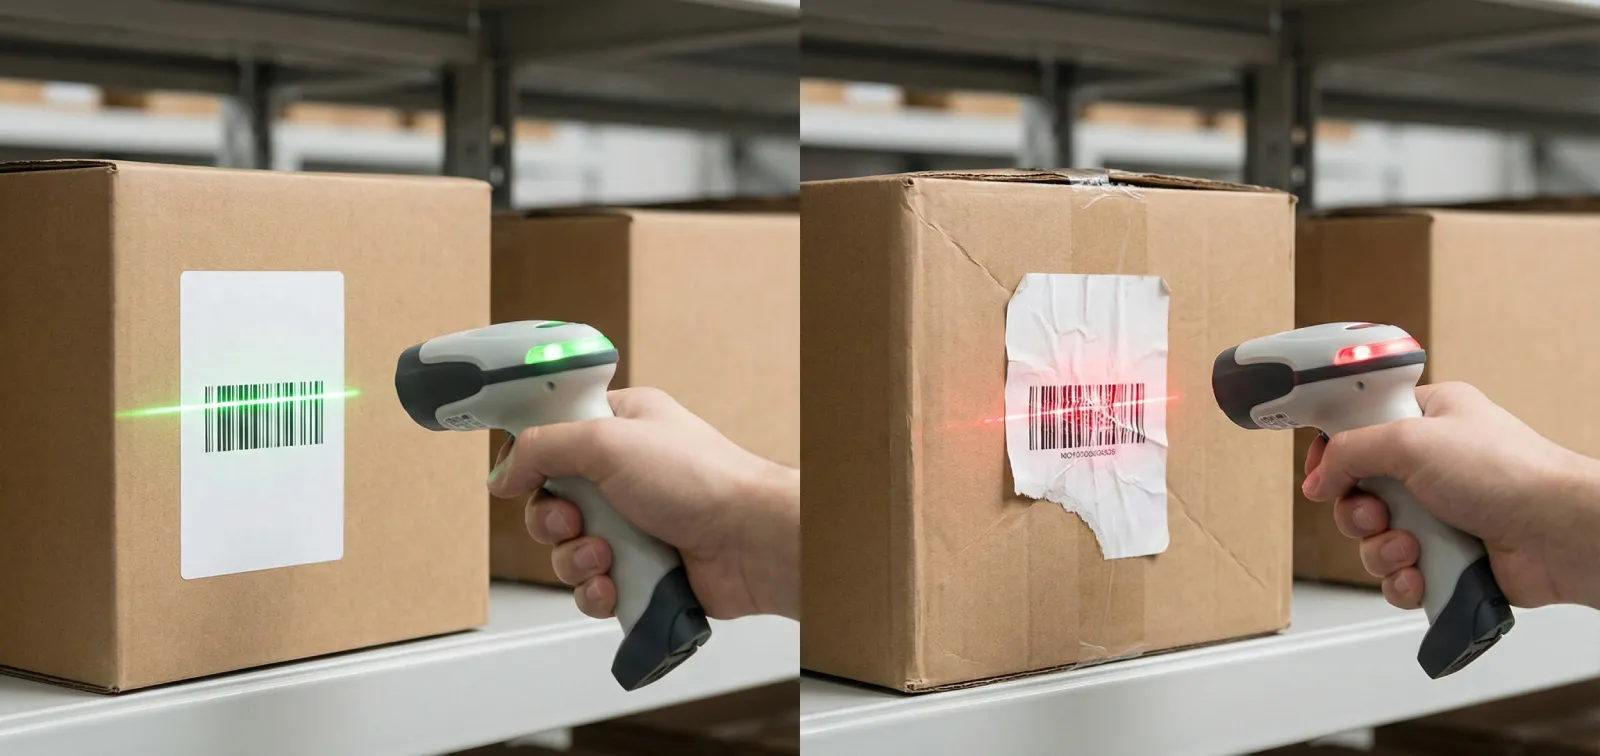
- Scan every test label.Use the same scanner your team uses on the floor. If the barcode does not scan on the first pass, adjust the size, contrast, or quiet zone before printing the full batch.
- Check alignment.Thermal labels that are offset by even 1mm will drift further with every label in the roll. Adjust your printer's media calibration if needed.
Once test labels pass, print the full batch. With a tool like Label Codes, you hit Print All and the tool generates every label from your spreadsheet in one go. 500 rows, 500 labels.
Thermal printers vs. office printers
Both can produce scannable barcodes, but the right choice depends on your volume and environment.
Purpose-built for labels. They print at 4 to 8 inches per second, need no ink or toner (direct thermal) or use a ribbon (thermal transfer), and produce sharp barcodes consistently. Thermal transfer labels resist moisture, heat, and UV, making them ideal for warehouse environments. The trade-off: they only print in black, and the printer plus label stock costs more upfront.
Already on your desk. They handle label sheets (like Avery templates) perfectly well for occasional jobs. Color is available if you need branded labels. The downsides: slower for large runs, ink smears on some label materials, and ongoing cartridge costs add up. For anything over a few hundred labels per month, thermal wins on cost per label.

A practical starting point: if you print labels less than once a month, use the office printer you already have. If labeling is a weekly task, a thermal printer pays for itself quickly. A basic direct thermal printer starts at around $100 to $150 and handles thousands of labels per roll.
Common mistakes that kill scan rates
Barcode labeling errors are a leading cause of warehouse delays and mislabeling-related product recalls. Pharmaceutical labeling errors alone account for roughly 15 percent of all product recalls in the US. Even in a standard warehouse, a label that does not scan on the first pass costs 3 to 5 seconds per pick, and that compounds fast across thousands of picks per day.
- Crowded quiet zones - text, logos, or label edges that intrude into the blank space around the barcode. This is the number-one reason otherwise well-printed barcodes fail to scan.
- Wrong label stock size - designing a label for 60x40mm stock but loading 50x30mm rolls. The barcode gets clipped, the alignment drifts, and the entire batch is wasted.
- Barcode column formatted as a number - Excel silently drops leading zeros and truncates long numbers. A barcode value of 00123456 becomes 123456, which does not match your system.
- Glossy label material - shiny surfaces reflect the scanner's light back into the sensor, causing read failures. Always use matte or semi-gloss materials for barcode labels.
- No test scan before full print - the most avoidable mistake on this list. Five minutes of testing prevents five hours of reprinting.
Start printing this week
Bulk barcode label printing is not complicated, but it does require a clean process. Get your spreadsheet right, pick the right symbology, test before you commit, and use a tool that handles the barcode generation for you.
If you need labels today, Label Codes lets you go from spreadsheet to printed labels in minutes, free, with no account required. Upload your file, design the layout, and print.
Next step: open your SKU list, clean up the columns, and print a test sheet of 5 labels. If they scan cleanly on the first pass, you are ready to scale.